

API Service users
Use service users to authenticate API calls to Bob
Creating API service users
API Service Users let you access Bob’s public API securely using token-based authentication. You can create multiple service users, each with its own permissions, based on the data or endpoints you need access to.
Note: Service users aren’t tied to actual employees and can’t log in to Bob. They exist only to authenticate API requests using their ID and token.
To start using Bob’s API:
- Create a new API service user: You’ll receive an ID and token for authorization.
- Create a permission group: Add the API service user to it.
- Assign permissions: Define what the service user can access.
- Test your setup: Use Postman or the API reference guide.
- Make authenticated requests: Include the ID and token in your authorization header.
Prefer to listen? Scroll down for an audio summary (6:51 min).
Step 1: Create a service user
Service Users are created and managed in the Service Users section in Bob.
- If you have direct access to Bob: Go to the Service Users configuration page to create a new user and copy the ID and token. See Manage service users ↗.
- If you don't have direct access to Bob: Ask a Bob Admin to generate the credentials for you.
You’ll need this ID and token to authenticate your API requests.
Step 2: Creating a permission group
By default, service users have no access permissions.
To assign them access:
- Create a dedicated Permission Group.
- Add the Service User to this group.
This group should include only the permissions required for the API operations the service user will perform.
- If you have access to Bob: Create a service user permission group ↗.
- If not: Ask a Bob Admin to create one and assign the user to it.
Step 3: Set permissions
A new permission group does not have any permissions enabled by default.
Notes:
- Ask Bob Admin to help determine which permissions are required for this service user. To learn more, see Manage service users.
- Default employee data permissions: To read basic employee data via the People search API, assign the Default Employee Fields permissions. This includes access to the “root,” “about,” “employment,” and “work” categories. To learn more, see Permissions for Default Employee Fields in People Search API ↗.
Permissions are grouped into:
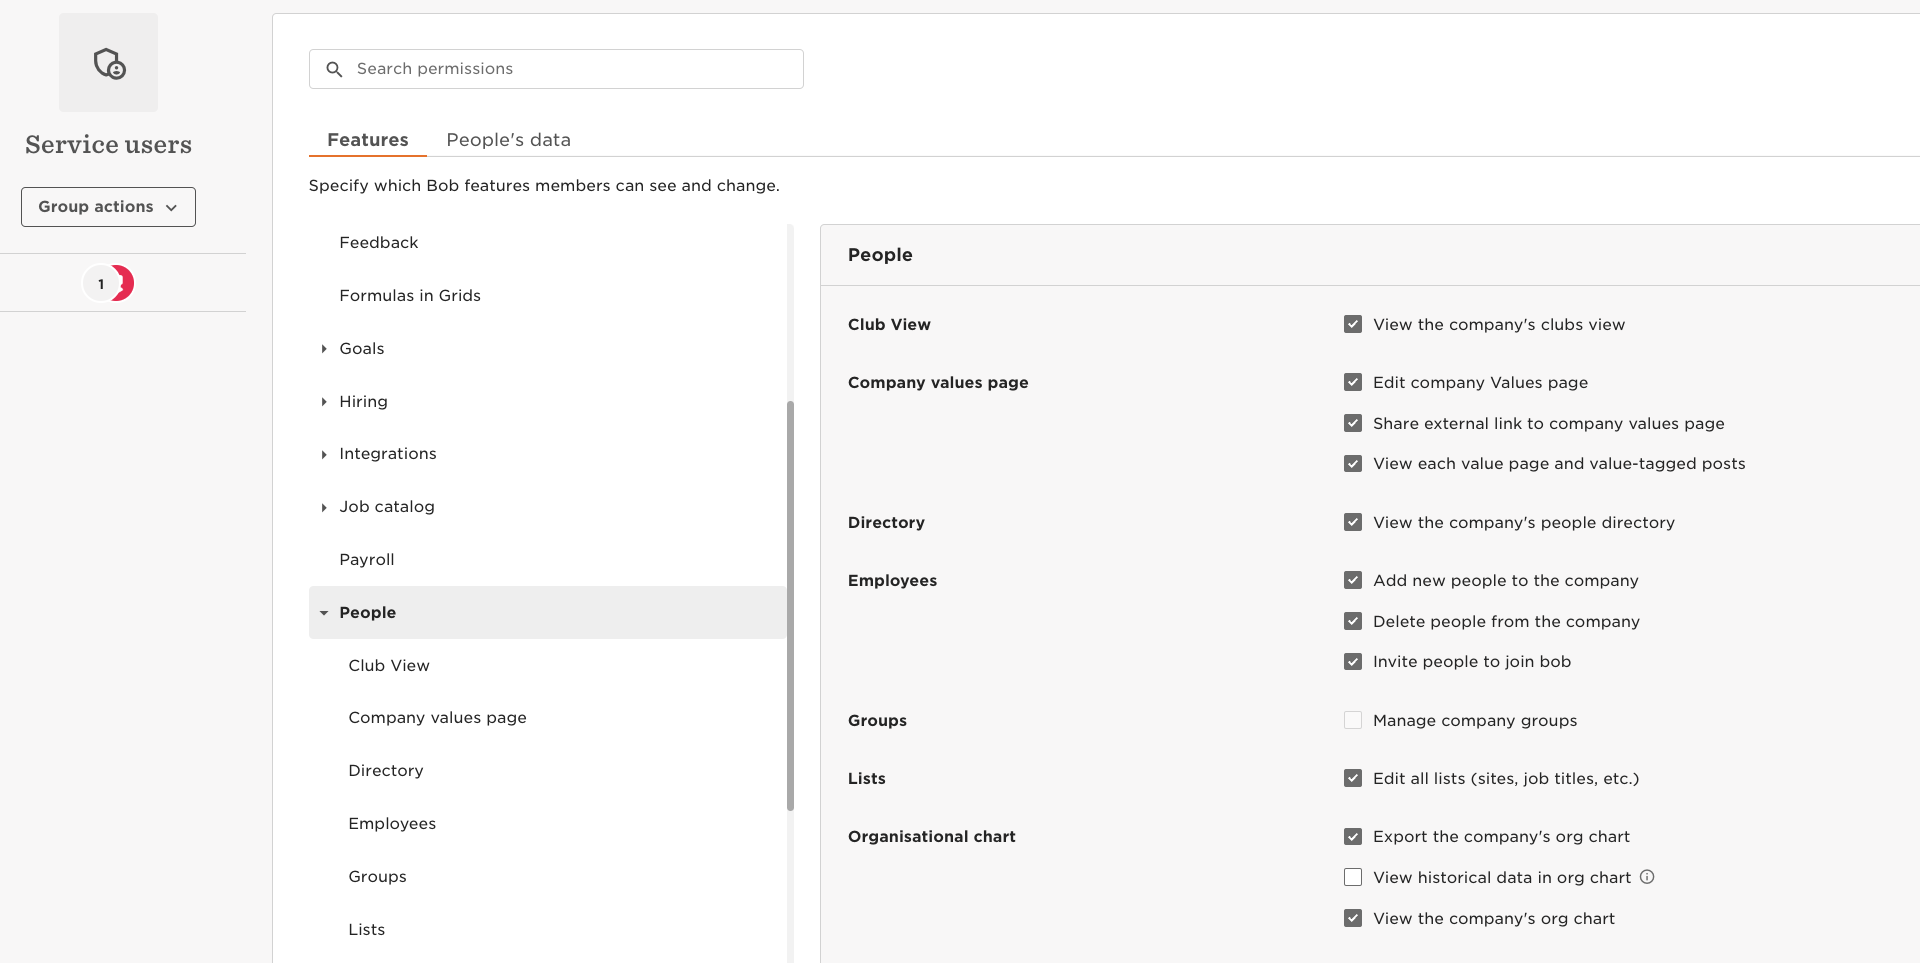
3.1 Features
Grant access to Bob features you need to access via the API you plan to use with this service user. For example, if you want to access reports, you may need to activate some options in Features > Reports.
- From the top right, click Edit.
- Select the area of Bob you'd like to manage.
- Check or uncheck the permissions this group should have.
3.2 People’s data
Grant access to people’s data in each area of Bob for the API you plan to use with this service user.
- From the top right, click Edit.
- Select the area of Bob you'd like to manage.
- Mark the checkbox(es) to enable or disable the permissions you’d like to give the service users in this group.
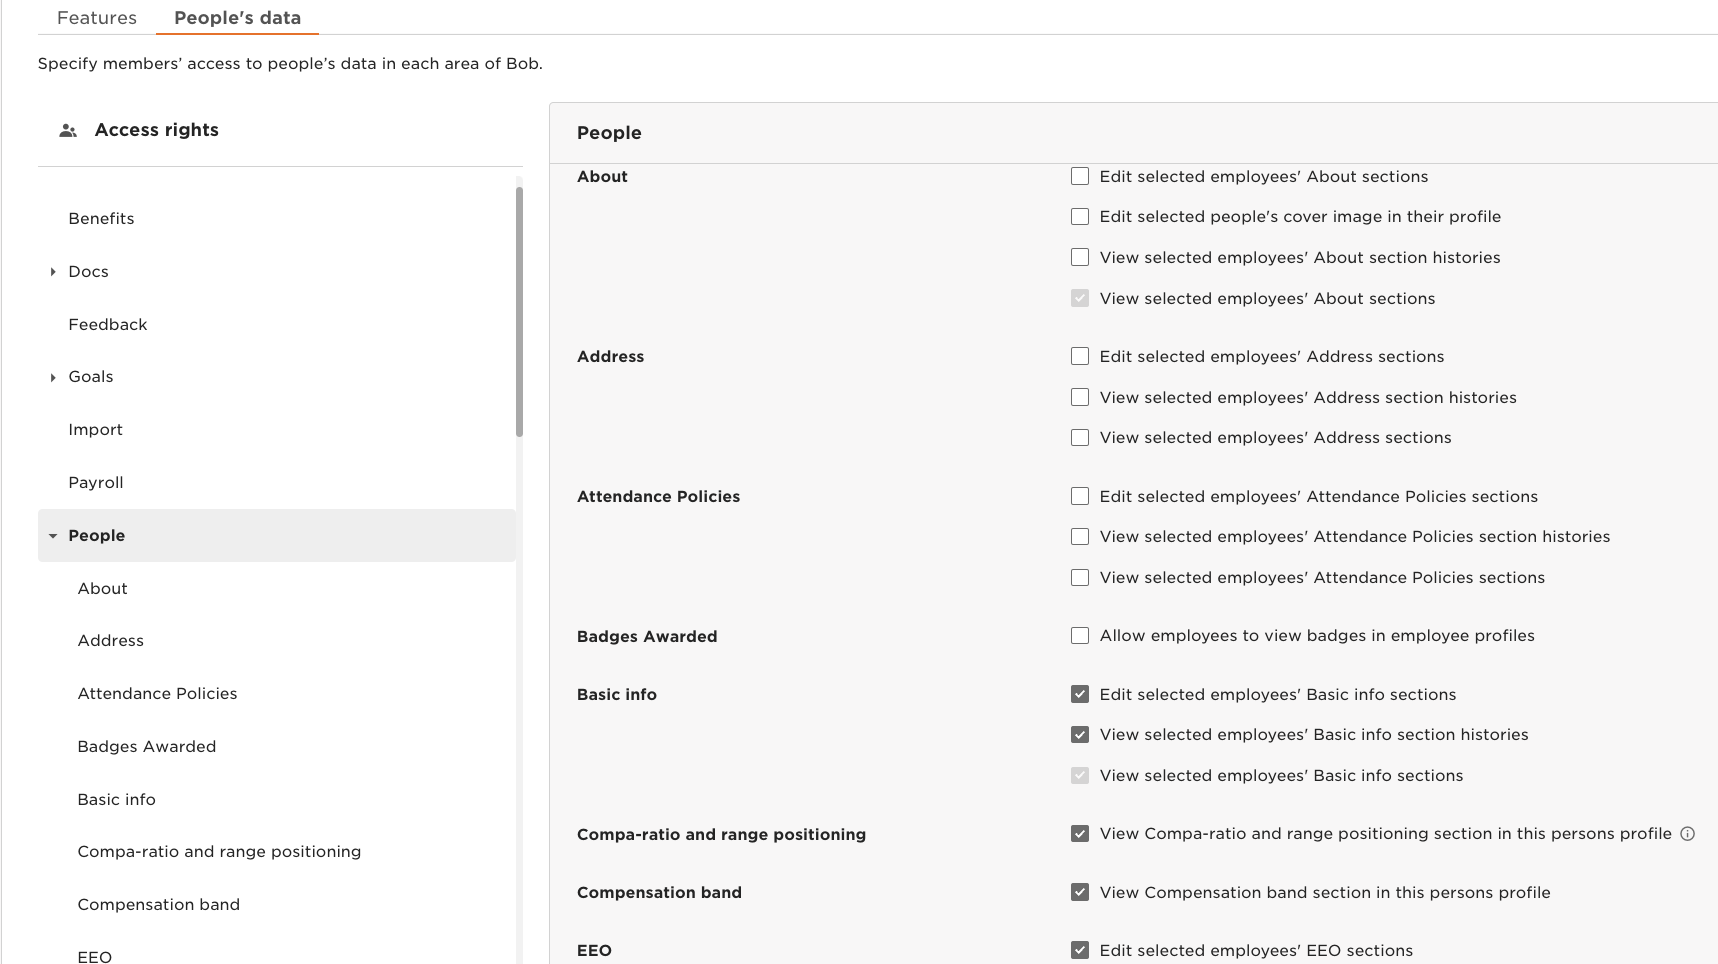
'View', 'edit' and 'view history'To access Employee data via the API you need to grant basic view access to each category:
- View all employees' [Category name] sections
If you want to access history data (such as all the entries in the Lifecycle or Work table), you also need to grant the history access:
- View all employees' [Category name] section histories.
If you want to update data or access sensitive data that requires an extra layer of permissions, you need to grant the edit permission:
- Edit all employees' [Category name] sections
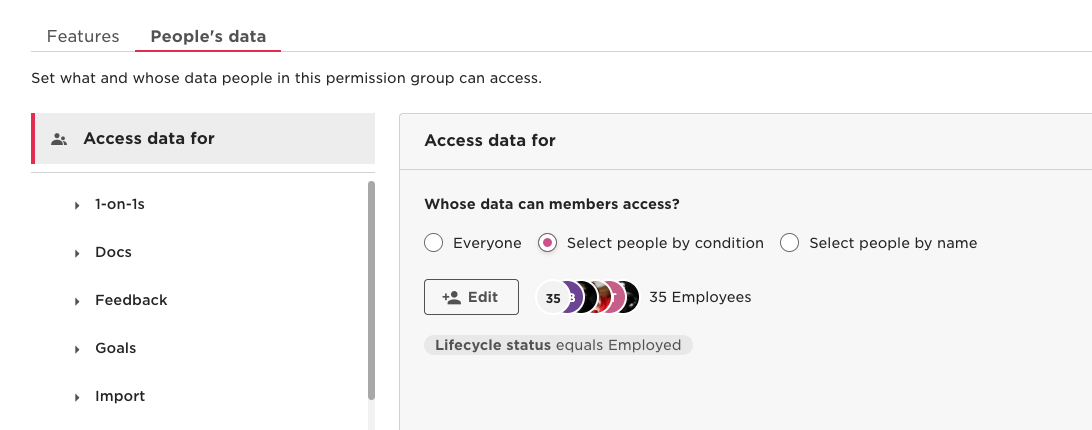
3.3 Access rights
Grant access to the people whose data you want to access via the API you plan to use with this service user.
- From the People’s data tab, click Access data for.
- Select whose data these permissions apply to (by default, the access rights are set to all employees using the Lifecycle status equals Any condition). Options are:
- Everyone: all employees marked as Employed in the system.
Note: By default, the service user's permission group grants access to all active employees. To access inactive employees you need to use select by condition and remove the condition: Lifecycle status equals Employed from the permission group's Access data for settings.
- Select people by condition: click Edit, select conditions from the dropdown menu, then click Apply.
- Select people by name: click Edit, select specific employees, then click Apply.
- Everyone: all employees marked as Employed in the system.
To learn more, see Create a service user permission group ↗.
To learn more about which permissions each API endpoint requires, see the different endpoints in the API reference guide.
Step 4: Test the API
Use Postman or the “Try It!” option in the API reference to test your endpoints using the service user’s ID and token.
Need help testing? See how to test endpoints.
Step 5: Authenticate your requests
Include the service user’s ID and token in the Authorization header of your API calls.
Learn how to build the authorization header.
Frequently asked questions
How can I remove an API service user?
If you delete a service user, any integration using it will stop working. You’ll need to replace its credentials in your code. See how to remove a service user ↗.
How can I find the API service user’s token?
You can only copy the token when it's generated. If lost, generate a new one and update your code accordingly.
If you lose the token, you can generate a new one. Just remember to refresh the service user’s token ↗.
How can I see the permissions assigned to a service user?
The Service Users table shows each user's permission groups and assigned permissions. You can also export this list to CSV or Excel. Learn more about viewing permissions ↗.
🎧 Audio Recap (AI-generated)
Note: This audio was generated by artificial intelligence and may contain inaccuracies or outdated information. It is provided for informational purposes only, and any use is at the listener's discretion. The content is based on material found in the Bob Help Center and Bob Developer Hub.